

Wood floors bring warmth, character, and timeless appeal to any home. Over the years, however, natural expansion and contraction can create small or wide openings between boards. These gaps often collect dust, let in drafts, and make the floor look older than it is. Understanding how to fill gaps in floorboards effectively ensures not only a cleaner appearance but also a more comfortable and energy-efficient home. You can get your floors to look smooth and continuous again without hurting the wood if you know what to do and use the right tools.
Why Floorboard Gaps Happen
Before choosing a repair method, it helps to understand why gaps appear in the first place. Wood is a living material that reacts to humidity. During dry months, boards shrink and separate. In humid seasons, they swell and close up again. Older homes may also have boards that have loosened over time or floors that have settled unevenly. Identifying the cause helps you decide whether you need a seasonal fix or a more permanent solution. If the gaps widen and close based on the weather, flexible fillers are ideal. If the openings remain constant year-round, you can choose a sturdier repair.
Choosing the Right Filler Material
There are several reliable options for filling floorboard gaps, each offering different advantages. Flexible wood fillers are a popular choice because they move with seasonal changes. These are premixed products that match common wood tones and can be sanded smooth once dry. Another option is natural rope or jute, which was historically used in older properties. The rope is inserted into the gap and trimmed flush, providing a rustic, breathable finish.
For wider or more permanent gaps, wood slivers are often the best solution. These thin strips of timber are cut to size and glued into place to create a nearly invisible repair. Because slivers are made from real wood, they blend seamlessly once sanded and finished. If you’re hoping for a long-lasting, high-quality appearance, this method delivers excellent results.
Preparing the Floor for Gap Filling
Proper preparation is essential for a professional-looking finish. First, clean the gaps really well to get rid of dust, dirt, and old filler. A vacuum with a narrow nozzle works well, and a thin tool can help loosen debris. Once clean, check the boards for movement. If any boards lift or slide, secure them with nails or screws before filling. Stability ensures that your repair lasts and prevents future cracking.
It’s also helpful to lightly sand the surrounding area to remove surface finishes that might prevent fillers from adhering. Wipe the area clean so you’re working on fresh, dust-free wood.
How to Apply Your Chosen Solution
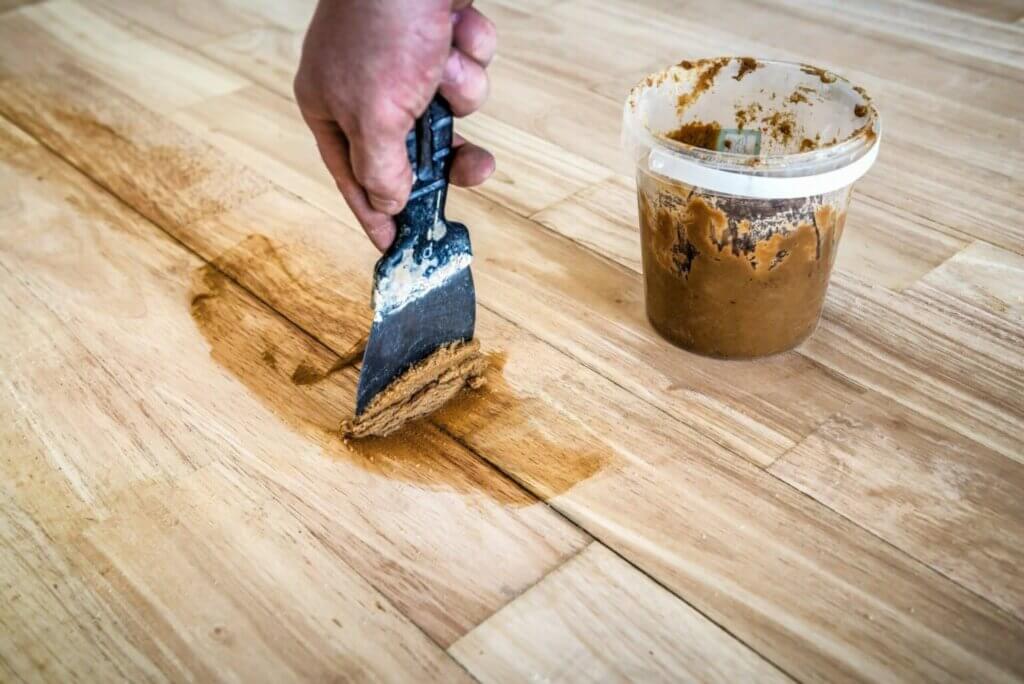
If you choose a flexible wood filler, use a putty knife to press the material into the gap and smooth it over. Slight overfilling is normal and can be sanded off once dry. For rope filling, cut the rope slightly wider than the gap, roll it between your fingers to tighten the fibres, and tap it into place with a blunt tool.
Wood slivers require a bit more precision but create a beautiful finish. Measure the gap, cut the sliver to the correct width, and apply a small amount of wood glue. Press it into place, allow it to dry fully, then sand it smooth so it sits flush with the surrounding boards.
Finishing for a Seamless Look
After your filler has set, lightly sand the entire repaired area to blend it with the rest of the floor. Once smooth, you can stain, oil, or varnish the boards to match the original finish. This final step ensures a uniform appearance that hides where the gap once was.
Filling floorboard gaps is a rewarding project that revitalises wooden floors and enhances the comfort of your home. Whether you use flexible filler, rope, or wood slivers, knowing how to fill gaps in floorboards helps you achieve a seamless, polished result that lasts for years.